|
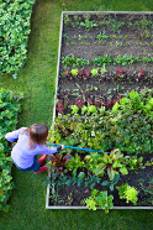
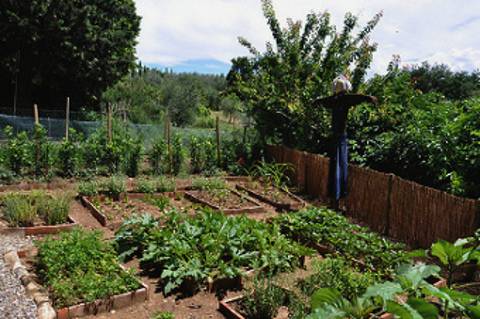
Raised Bed Gardening-How to Set it UpAre you wondering if a raised bed garden is the right choice for you? It has many advantages. It is much easier to maintain, because there are less weeds. You have control over the soil. It's easier to reach, because it's higher up. It's the easiest form for beginners. Below is a photo of a beautiful garden set up in Tuscany. The raised beds hold all of the plants, and the weeding is minimal.
Photo Courtesy of Salvadonica, Chianti, Tuscany How to Make a Raised Bed GardenIf you have decided to use a raised bed gardening style, then you have two choices. You can use the instructions like those below to make one. You can also puchase one that is already made, and just requires assembly. The instructions are for a 4 foot by 8 foot bed, 12 inches deep. It is large enough that it will hold enough soil for full size tomatoes and root vegetables like carrots. Materials Needed:
In the above list you will note that the boards are cedar. This is not mandatory, but you will want to use some kind of rot-resistant wood. Redwood is also acceptable. Many types of composite lumber are treated with toxic chemicals that could leach into the soil, and be picked up by your garden plants. Railroad ties are filled with creosote, which will also leach into the soil and kill your plants, unless they are old and weathered and no longer oozing creosote. Untreated lumber is an option, but will eventually rot and need to be replaced. It is less expensive though. It may be a good choice for the first garden, to give you the chance to experiment a bit. You can build a more permanent one when you decide what size you really want. Summary:
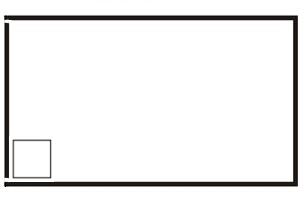
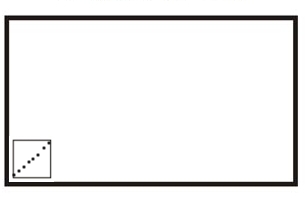
Choosing the Location of your Raised Bed GardenOnce you have assembled your materials, you need to decide where to put it. You are looking for an area that will hold a 4x8 box, and receives at least 8 hours of full sun daily. If you align the box lengthwise north/south it will get the most light. Choose a spot where you can walk all the way around the bed, or you won't be able to reach the far end. Avoid the shade of the house, unless you are in a hot area and need some afternoon shade. You want to stay away from messy trees, tree roots, slanted areas, or soggy areas. Good drainage is critical, so if you have clay soil, you should dig out the area and put in some gravel...after you've loosened the soil below to allow water to go down through it. Heavy clay soil can create a mud puddle out of your garden if the water can't drain away. It will have to be level, so if you don't have a level area you will need to do some digging or build up the low spot with sand. Although this preparation work is tedious, it will pay off later by having healthy plants and less continuous weeding. Summary:
Once you've decided on the location, it's time to mark it with string. When the ground is ready, lay the landscape cloth on it to smother out weeds. Assembling the Raised BedFind a level surface to assemble the box. The way this comes together is that the 8 foot boards are on the outside. The 4 foot boards will be between them, on the inside. Take a 4 foot board and measure 2 inches down from the top and 2 inches in from the edge. Drill the hole in this spot. Do the same but 2 inches up from the bottom of the board. Line a stake up with the board, even (flush) with the edge and the bottom of the stake level with the bottom of the board. Using the holes as a guide, drill into the stake. Attach the board to the stake with the 3 1/2 inch screws. Do the same on the other end of the board. Take another 4 foot board and repeat this process. When finished with the two 4 foot boards, attach an 8 foot board to the stake, bringing the edge of the board over to cover the edge of the 4 foot board, so that the 4 foot board is inside. Make the drill holes 3 1/2 inches in from the edge, and 2 1/2 inches down from the top and up from the bottom edges of the board. (You are aiming near the center of the stake)
When you are finished, you will have a rectangle with 4 stakes sticking up above it at the inside corners. The stake will be 12 inches(30.5cm) taller than the first board. The bottom should be level with the bottom of the board, because we are building it upside down. The stakes, when it is assembled, will go into the ground to anchor your garden bed. Follow the same hole drilling procedure for the second set of boards and attach them. When you are finished, attach the hardware cloth with metal staples, if you are using it. This will keep rodents from getting at your plants. You will need to cut the hardware cloth diagonally to fasten to the stakes and attach it. You will probably need tin snips for this.
When you've finished you can drill holes between the top and bottom screws for extra screws to strengthen it. It will be holding a lot of soil. Summary:
Then you are ready to put it in place and mark the spot for the stakes to go into the ground. Level the ground between the holes. Once these holes are dug, lower the stakes into the holes and make sure that the bottom of the box is in contact with the ground. Check to be sure all is level. Now you are ready to fill your new raised bed garden with your soil mix and begin raised bed gardening! Raised beds can, of course, also be used for flowers. If you plan on growing flowers in your raised bed, and are considering growing Roses, start with some useful tips on growing a Miniature Rose Bush and other roses for a gorgeous display. from Raised Bed Gardening to Vegetable Gardening Advice Home from Raised Bed Gardening to Raised Bed Vegetable Gardening to Low Maintenance Gardening |


